Are you tired of buying bland, store-bought bread? Look no further!
In our article, we’ll show you how to unleash your inner baker and master the art of farmhouse-style bread. From gathering the ingredients to troubleshooting common issues, we’ve got you covered.
Get ready to knead, shape, and bake your way to deliciousness. Say goodbye to mediocre loaves and hello to the satisfying taste of homemade bread.
Get ready to impress your friends and family with your newfound baking skills!
We need to head to the grocery store to get all the ingredients for our farmhouse-style bread recipe.
The first step in making this delicious bread is activating the yeast. We’ll need warm water, sugar, and active dry yeast. Dissolve the sugar in the warm water, then sprinkle the yeast on top. Let it sit for about 5 minutes until it becomes foamy. This process ensures that the yeast is alive and ready to work its magic in our bread.
Once the yeast is activated, we can move on to selecting the right flour. For farmhouse-style bread, it’s best to use a combination of all-purpose flour and whole wheat flour. This will give our bread a hearty and rustic texture.
Let’s grab these ingredients and make our way to the checkout!
When preparing the yeast starter, we need to pay close attention to the temperature of the water, as it plays a crucial role in activating the yeast. The water should be lukewarm, around 105°F to 110°F, to ensure that the yeast can properly dissolve and begin fermenting.
Additionally, we must allow enough time for the yeast to work its magic, giving it at least 10 to 15 minutes to foam and bubble, indicating that it’s alive and ready to leaven our bread.
Keep in mind that these are general guidelines and may vary based on personal preference and recipe variations. It’s essential to monitor the dough’s progress and perform the windowpane test to ensure proper gluten development. By allowing the yeast to ferment for the appropriate duration, you’ll achieve the best results in terms of flavor, texture, and overall quality of your farmhouse-style bread.
Let’s get started by mixing the dough for our farmhouse-style bread. This crucial step involves activating the yeast, which will bring our bread to life, and developing gluten, which will give it the perfect texture. Here’s what you need to keep in mind:
After mixing the dough, we should cover it with a clean kitchen towel and let it rise in a warm place for about an hour. This step, known as proofing, is crucial for developing the flavor and texture of our farmhouse-style bread.
To ensure a successful rise, there are a few key tips to keep in mind. Firstly, choose a warm spot in your kitchen, such as near a window or on top of the oven, where the temperature is around 75-80°F. This will provide the ideal environment for yeast activity. Additionally, make sure to cover the dough tightly with the kitchen towel to trap the heat and moisture, aiding in a consistent rise.
If your dough isn’t rising properly, it could be due to several factors, such as expired yeast or using water that’s too hot or too cold. Troubleshooting these issues will help you achieve the perfect rise every time.
To achieve beautifully shaped loaves, we gently fold the dough over itself using a bench scraper, creating tension and structure. This step is crucial in achieving proper loaf structure and ensuring a golden crust.
Here are some key tips to keep in mind when shaping your bread:
We always ensure preheating the oven to the proper temperature before placing our shaped loaves inside, allowing for optimal oven spring and a perfectly baked bread. The importance of oven temperature can’t be overstated when it comes to achieving bakery-quality results. Preheating techniques play a crucial role in setting the stage for success in bread baking.
To start, preheating the oven ensures that the heat is evenly distributed throughout, promoting even baking and preventing any hot spots that could result in unevenly cooked bread. This is especially important when dealing with delicate doughs that require precise temperatures to rise and develop properly.
Additionally, preheating the oven allows for what we call ‘oven spring.’ As the loaves are placed in the hot oven, the sudden burst of heat causes the yeast to produce carbon dioxide rapidly, resulting in a final rise before the crust sets. This creates those beautiful, airy interiors that we all love in a well-made loaf of bread.
In terms of preheating techniques, it’s essential to give the oven ample time to reach the desired temperature before placing the dough inside. This typically takes around 20-30 minutes, depending on your oven’s capabilities. A simple way to check if the oven is ready is by using an oven thermometer, ensuring that it has reached the recommended temperature.
Now that the oven is preheated, it’s time to start baking the bread!
Baking the perfect loaf requires mastering a few key techniques.
We’ll discuss the best bread baking techniques and the essential tools you’ll need to achieve that delicious farmhouse-style bread.
We need to resist the temptation to slice into our freshly baked loaf and instead let it cool on the wire rack. Cooling bread properly is crucial for achieving the best results. Here are the benefits of cooling bread and the best cooling methods:
When it comes to properly storing bread, there are a few key points to keep in mind.
First, it’s important to store bread in a cool, dry place to prevent it from becoming stale or moldy.
Second, using a bread box or airtight container can help maintain the freshness and texture of the bread.
Lastly, freezing any leftover bread can be a great way to reduce waste and enjoy it later.
We’re all about savoring the traditional farmhouse taste with each bite of our freshly baked bread. Our commitment to using traditional baking methods ensures that every loaf is made with love and care.
Here’s what sets our bread apart:
Although we strive to provide the best baking experience, sometimes issues may arise, and we’re here to help troubleshoot common problems. Baking farmhouse-style bread can be a rewarding experience, but it’s not without its challenges. Here are some common troubleshooting issues and techniques to overcome them:
We’ve discovered that using a Dutch oven and high-quality flour is the secret to achieving a perfect farmhouse-style bread.
Key Takeaways
- Activating the yeast properly is crucial for successful bread dough fermentation.
- Pay attention to the water temperature (around 105°F to 110°F) for yeast activation.
- Allow the dough to rise and double in size before shaping and baking.
- Preheating the oven ensures even baking and allows for oven spring and aeration.
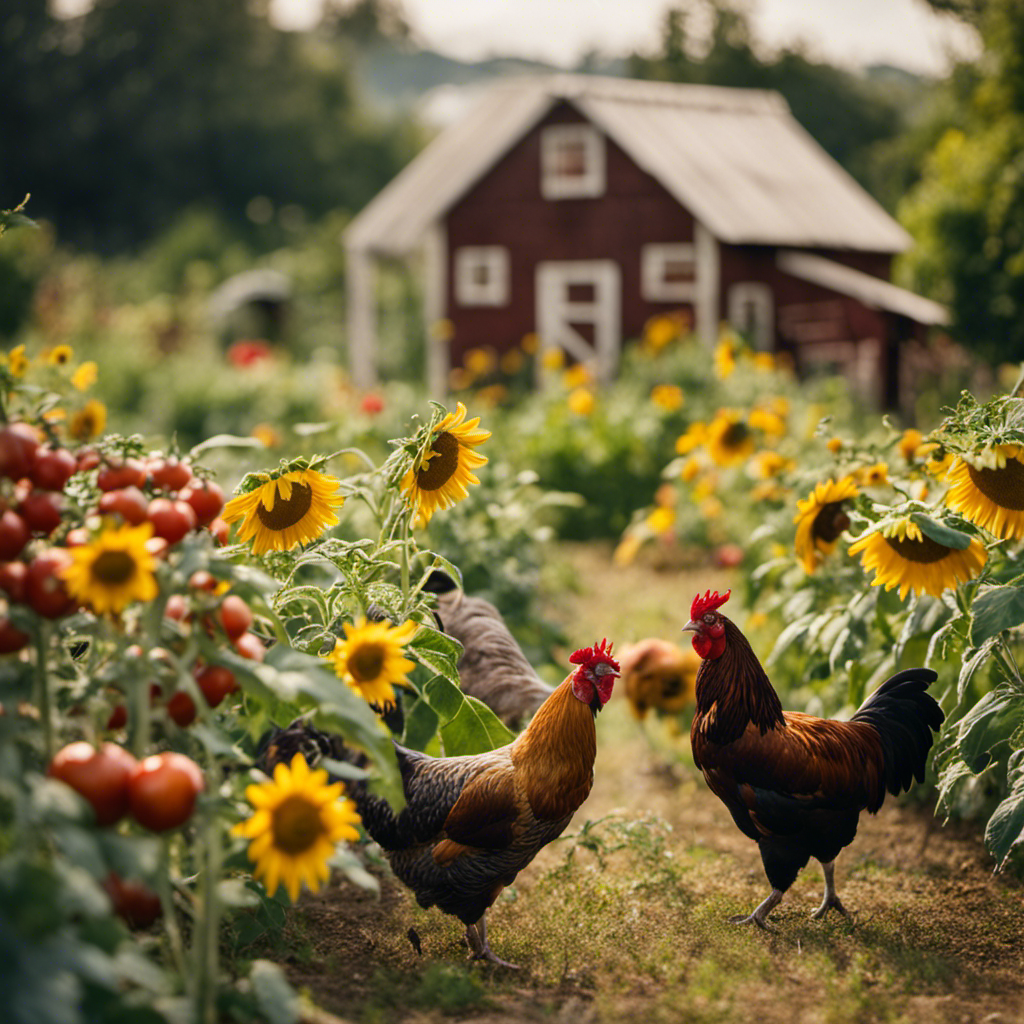
Gathering the Ingredients
[bulkimporter_image id=’2′]
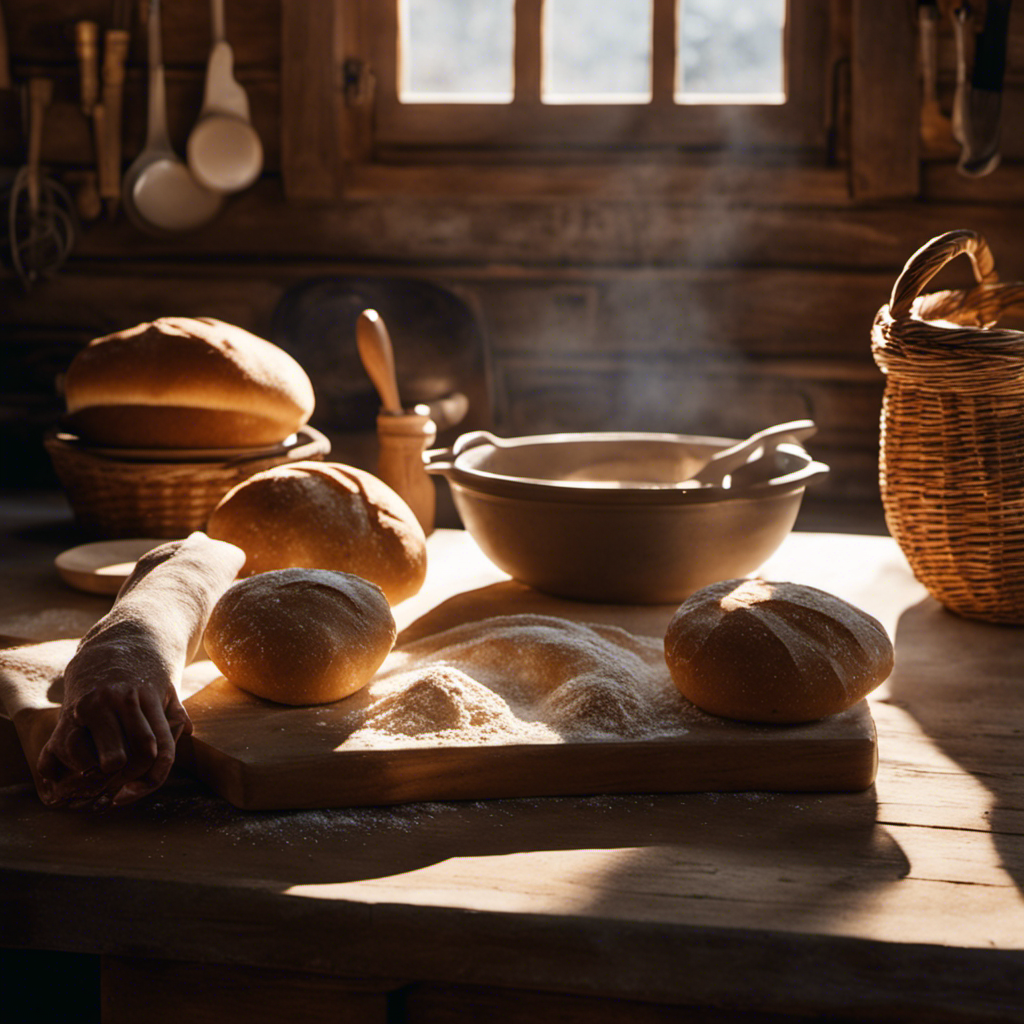
Preparing the Yeast Starter
[bulkimporter_image id=’3′]
Importance of Yeast Temperature
I’ve learned from experience that keeping the yeast at the right temperature is crucial for a successful bread dough. Yeast activation and fermentation are essential processes that rely on the right conditions to produce the desired results. Here are a few things to keep in mind when it comes to yeast temperature:- Yeast Activation: To activate the yeast, it needs to be dissolved in warm water between 100°F and 110°F. This temperature range helps wake up the dormant yeast cells and initiates the fermentation process.
- Fermentation Temperature: Once the yeast is activated, it’s important to maintain an optimal fermentation temperature. This usually falls between 75°F and 85°F for most bread recipes. This range provides the yeast with the ideal environment to multiply and produce carbon dioxide gas, which helps the dough rise.
- Avoid Extremes: Extreme temperatures, either too hot or too cold, can hinder yeast activity and fermentation. Extremely high temperatures can kill the yeast, while very low temperatures slow down fermentation and result in a dense, poorly risen loaf.
Time Needed for Fermentation
Once the yeast starter is prepared, it is important to allow it enough time to ferment properly before incorporating it into the bread dough. Fermentation duration plays a crucial role in developing the flavor, texture, and rise of the bread. Determining the optimal fermentation time depends on various factors such as the recipe, ambient temperature, and desired outcome. To give you a better understanding, here’s a table showcasing the recommended fermentation times for different types of bread:| Bread Type | Fermentation Duration |
|---|---|
| White Bread | 2-3 hours |
| Sourdough | 8-12 hours |
| Whole Wheat Bread | 4-6 hours |
Mixing the Dough
[bulkimporter_image id=’4′]
- Yeast Activation:
- Dissolve the yeast in warm water to activate it.
- Let it sit for a few minutes until it becomes frothy.
- This ensures that the yeast is alive and ready to work its magic.
- Gluten Development:
- Add flour to the yeast mixture gradually, stirring as you go.
- Knead the dough until it becomes smooth and elastic.
- This process helps the gluten strands develop, giving the bread structure and a chewy texture.
Allowing the Dough to Rise
[bulkimporter_image id=’5′]
Shaping the Loaves
[bulkimporter_image id=’6′]
- Use a lightly floured surface to prevent sticking and allow for easy manipulation of the dough.
- Shape the dough into a tight ball by folding the edges towards the center, creating surface tension.
- For a classic farmhouse-style loaf, shape the dough into a round or oval shape.
- To achieve a more rustic look, you can also shape the dough into a batard or boule.
Preheating the Oven
[bulkimporter_image id=’7′]
Baking the Bread
[bulkimporter_image id=’8′]
Best Bread Baking Techniques
Let’s knead the dough gently to develop gluten and achieve the perfect texture in our farmhouse-style bread. When it comes to mixing techniques, there are a few tried-and-true methods that yield fantastic results. Here are some of the best techniques to ensure your bread turns out delicious:- Autolyse: This involves mixing flour and water and letting it rest before adding yeast and salt. It allows the gluten to develop naturally, resulting in a better texture.
- Stretch and fold: Instead of vigorous kneading, this method involves gently stretching the dough and folding it onto itself. It helps evenly distribute the ingredients and strengthens the gluten.
- Windowpane test: To determine if the gluten has been properly developed, take a small piece of dough and stretch it gently. If it stretches thin enough to see light through it without tearing, it’s ready.
Essential Bread Baking Tools
We need both a sturdy mixing bowl and a reliable digital scale in order to accurately measure and combine our ingredients for baking the perfect loaf of farmhouse-style bread. When it comes to gathering ingredients, it’s important to have the right tools to ensure precision and consistency in our baking. A sturdy mixing bowl provides stability and room for us to mix our ingredients thoroughly, allowing for proper hydration and gluten development. Meanwhile, a reliable digital scale allows us to measure our ingredients with precision, reducing waste and ensuring that we get the perfect balance of flavors and textures in our bread.Allowing the Bread to Cool
[bulkimporter_image id=’9′]
- Benefits of Cooling Bread:
- Texture: Allowing the bread to cool helps it develop a crisp crust and a soft, tender crumb.
- Flavor development: Cooling allows the flavors to settle and meld together, resulting in a more balanced and delicious taste.
- Moisture retention: Cooling prevents the bread from becoming soggy by allowing excess moisture to evaporate.
- Best Cooling Methods:
- Wire rack: Placing the bread on a wire rack allows air to circulate evenly, promoting faster and more even cooling.
- Room temperature: Avoid placing the bread in the fridge, as it can dry out the bread.
- Cover loosely: Cover the bread loosely with a clean kitchen towel to prevent it from drying out while it cools.
Properly Storing the Bread
[bulkimporter_image id=’10’]
Best Storage Methods
Let’s keep our farmhouse-style bread fresh by storing it in an airtight container. This is one of the best storage methods to ensure our bread stays moist and delicious for longer, reducing bread waste. Here are some other tips to help us make the most of our bread:- Keep it away from direct sunlight and heat sources, as they can dry it out quickly.
- Avoid storing bread in the refrigerator, as it can make it go stale faster.
- If we have a whole loaf, it’s best to slice it and freeze individual slices for later use. This way, we can thaw only what we need, preventing unnecessary waste.
Reducing Bread Waste
To reduce bread waste, it’s important to properly store the bread in airtight containers, which will help maintain its freshness for longer. But what if we could go beyond just storing and actually make the most of our bread before it goes bad? That’s where creative bread recipes come in. By using up those leftover slices, crusts, or stale loaves, we can reduce bread waste while creating delicious treats. From bread puddings to croutons, French toast to bread crumbs, the possibilities are endless. Imagine the aroma of freshly baked bread pudding wafting through your kitchen or the satisfaction of a homemade panzanella salad made with leftover bread.Enjoying the Traditional Farmhouse Taste
[bulkimporter_image id=’11’]
- Time-honored Techniques: We knead and shape our dough by hand, allowing it to rise naturally. This slow fermentation process creates a rich, complex flavor that can’t be replicated.
- High-Quality Ingredients: We source the finest ingredients, from organic flour to locally harvested grains. These carefully selected components contribute to the unique taste and texture of our bread.
- Innovative Flavors: While we cherish tradition, we also love to experiment. Our bakers are constantly exploring new ways to add unique flavors to our bread, whether it’s incorporating herbs and spices or experimenting with different grains.
Troubleshooting Common Issues
[bulkimporter_image id=’12’]
| Common Issues | Troubleshooting Techniques |
|---|---|
| Dense loaf | – Use bread flour for more gluten development. – Make sure the yeast is fresh and active. – Knead the dough thoroughly to develop more structure. |
| Overly crusty exterior | – Reduce the baking temperature. – Cover the loaf with aluminum foil halfway through baking. – Brush the crust with melted butter before baking. |
| Sunken or collapsed loaf | – Avoid overproofing the dough. – Check the yeast’s expiration date. – Use the correct amount of yeast. |
Tips and Tricks for Perfect Farmhouse-Style Bread
[bulkimporter_image id=’13’]
- Pre baking preparation:
- Start by making sure your Dutch oven is well-seasoned. This will prevent the bread from sticking and give it a beautiful crust.
- Use a high-quality flour with a protein content of at least 12%. This will ensure a strong gluten structure and a chewy texture.
- Let your dough rest for an adequate amount of time before baking. This allows the gluten to relax and the flavors to develop.
- Achieving the perfect crust:
- Preheat your Dutch oven before placing the dough inside. This will create a burst of steam, resulting in a crisp and golden crust.
- Score the dough before baking to control the expansion and create a beautiful pattern on the crust.
- Bake at a high temperature for the first few minutes, then reduce the heat. This will help to achieve a crust that’s both crispy and caramelized.
Frequently Asked Questions
What Is the Nutritional Value of Farmhouse-Style Bread?
Farmhouse-style bread is a delicious and nutritious choice. Packed with vitamins, minerals, and fiber, it offers numerous health benefits. From supporting digestion to boosting energy levels, this bread is a great addition to a balanced diet.Can I Substitute Whole Wheat Flour for All-Purpose Flour in This Recipe?
Yes, you can substitute whole wheat flour for all-purpose flour in this recipe. Whole wheat flour has more fiber, vitamins, and minerals, making it a healthier choice. It adds a nutty flavor and a denser texture to the bread.How Long Does It Take for the Yeast Starter to Become Active?
It typically takes around 1-2 hours for the yeast starter to become active. However, the time can vary depending on factors such as temperature and the quality of the yeast.Can I Use a Bread Machine to Mix the Dough for Farmhouse-Style Bread?
Yes, you can use a bread machine to mix the dough for farmhouse-style bread! It’s convenient and saves time. However, hand mixing gives a more artisan touch and helps achieve that perfect crust we all crave.Can I Freeze the Dough Before Baking It?
Yes, you can freeze the dough before baking it. Freezing dough allows for convenient preparation in advance. Just make sure to give the yeast enough time to activate properly after thawing before proceeding with baking.How Can Mastering Farmhouse-Style Bread Help in Creating Homegrown Goodness?
Mastering farmhouse-style breadmaking transcends merely creating delicious loaves; it invites the incorporation of homegrown quality techniques into your kitchen. As you enhance your breadmaking abilities, you have the opportunity to incorporate organic ingredients, locally sourced grains, and cultivate your own yeast strains. Attaining such proficiency allows you to enjoy the essence of pure, farm-to-table meals right in your own home.