
To match stain color on old wood like a pro, start by testing your stain on a hidden spot or scrap wood, and observe how it reacts with the existing finish. Apply small, gradual coats, adjusting the hue as needed, and blend edges carefully for a seamless look. Check your progress under different lighting conditions to guarantee the color matches naturally. Keep these tips in mind, and you’ll discover expert techniques that make your project flawless.
Key Takeaways
- Test the existing stain on a hidden area or scrap wood to evaluate color and reaction before full application.
- Use gradual blending by adding small amounts of pigment to stain, building color in thin, controlled coats.
- Match the stain in natural and artificial lighting to ensure seamless integration with the wood’s character.
- Apply stains evenly with appropriate tools, blending edges to avoid abrupt transitions and highlight wood’s natural grain.
- Consider the type of stain (oil-based or water-based) and adapt your technique to optimize absorption and color matching.
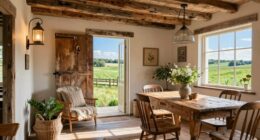
Matching stain colors on old wood can be challenging, especially when trying to preserve its natural character. The key to a successful match lies in understanding how color blending and finish consistency work together to create a seamless look. When you’re working with aged wood, its unique grain, wear, and patina add complexity, making it different from fresh, untouched surfaces. To get it right, you need to approach the process with patience and a careful eye. First, assess the existing stain and wood color. Take note of the hue, tone, and depth, and consider testing the stain on a hidden area or scrap piece of similar wood. This allows you to see how the stain reacts with the wood’s natural properties and whether it provides an accurate color match.
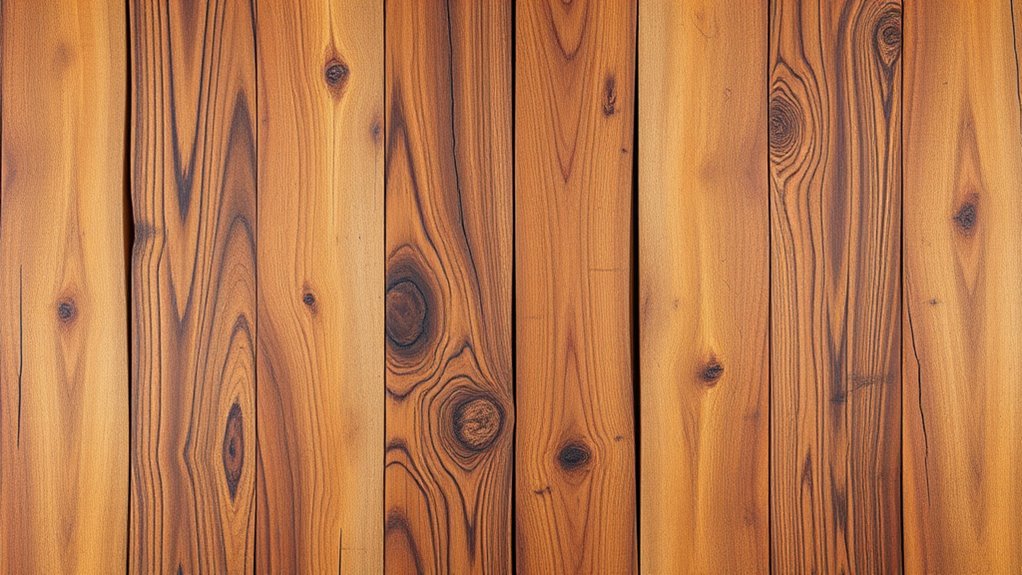
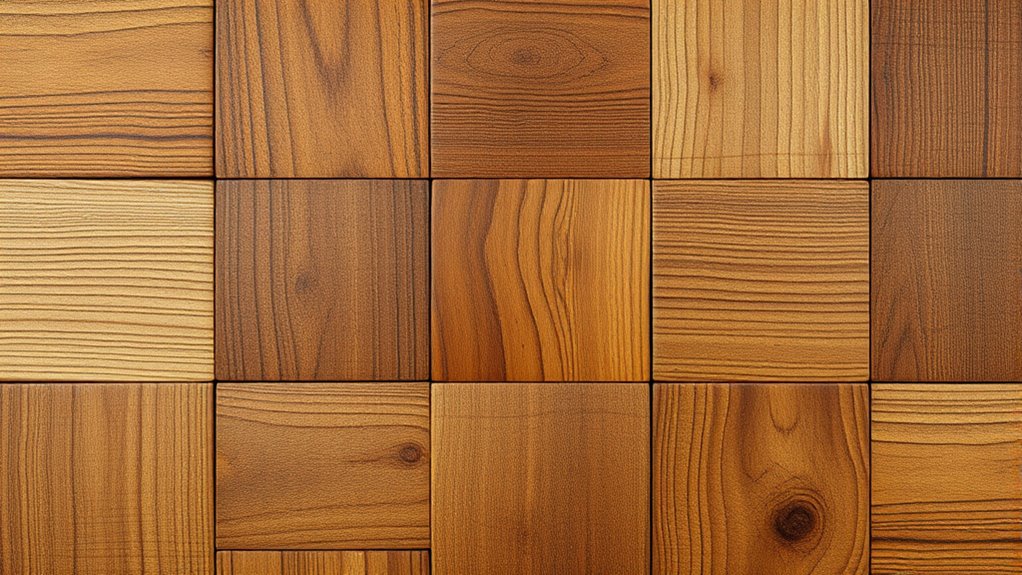
When blending colors, start with a small batch of stain and gradually add small amounts of pigment to tweak the shade. It’s better to build up color gradually than to try to match it in one go. This method helps you achieve better color blending, especially on older wood that may have uneven coloration due to aging. Keep in mind that old wood often absorbs stain differently across its surface, so multiple thin coats are preferable to one thick coat. As you apply the stain, monitor the finish consistency, making sure each layer evenly penetrates the wood without blotchiness or streaks. Achieving a uniform finish is essential because inconsistent coverage can make the repair obvious and detract from the wood’s natural beauty.
Another tip is to consider the type of stain you’re using—oil-based or water-based—as each interacts differently with aged wood. Oil-based stains tend to penetrate deeper and may enhance the wood’s richness, while water-based stains dry faster and offer easier cleanup. Whichever you choose, always apply with a brush, cloth, or sponge, and blend the edges where the new stain meets the old. This prevents abrupt transitions and ensures a smoother color integration. Additionally, understanding how color blending works in relation to the wood’s aging process can greatly improve your results.
Finally, after staining, always check how the color looks under different lighting conditions. Old wood can appear different based on light, so it’s essential to evaluate your work in natural and artificial light before sealing or finishing. By paying attention to color blending and maintaining finish consistency, you’ll restore your old wood with a natural, harmonious appearance that highlights its character rather than masking it.

Furniture Repair Kit Wood Markers – Set of 13 – Markers and Wax Sticks with Sharpener Kit, for Stains, Scratches, Wood Floors, Tables, Desks, Carpenters, Bedposts, Touch Ups, and Cover Ups
PRODUCT DETAILS – This 13 piece kit includes 6 Repair Markers, 6 paper wrapped wax sticks and 1…
As an affiliate, we earn on qualifying purchases.
As an affiliate, we earn on qualifying purchases.
Frequently Asked Questions
Can Stain Matching Work on Heavily Weathered or Damaged Wood?
Yes, stain matching can work on heavily weathered or damaged wood, but it requires patience and proper techniques. You should first clean and sand the surface to remove dirt and loose fibers. Then, use stain blending to match the color closely, applying multiple thin coats for better results. Keep in mind that weathered wood’s uneven tones may make perfect matching challenging, but with careful work, you can achieve a seamless look.
What Tools Are Best for Precise Stain Application?
Think of stain application like painting a masterpiece—you need the right tools for precision. For detailed work, choose a fine-tipped brush or a foam brush to control the stain better. Your brush selection affects how evenly you apply stain, making your work look professional. Use proper stain application techniques, like light coats and consistent strokes, to avoid streaks. These tools and techniques help you achieve a flawless, natural finish on your weathered wood.
How Do I Prevent Color Mismatches Over Time?
To prevent color mismatches over time, you should choose a stain that closely matches the original wood color and apply it evenly. Keep in mind that color oxidation can cause the stain to darken or change shade, so test it first. Additionally, focus on wood grain matching to ensure a seamless look. Regular maintenance and avoiding excessive exposure to sunlight will help safeguard the original stain color longer.
Is There a Way to Test Stain Colors Before Applying?
Imagine your project as a canvas waiting for the right splash of color. You can test stain colors before applying by using color sample testing, which allows you to see how stains look on scrap wood or hidden areas. For stain color visualization, lay out small samples under different lighting conditions. This way, you’ll confidently choose the perfect hue, avoiding surprises and ensuring a seamless match with your existing wood.
How Long Should Stained Old Wood Cure Before Use?
You should wait at least 24 to 48 hours for stained old wood to cure before using it. During this time, the stain penetrates the wood grain and dries thoroughly, ensuring a smooth finish. Rushing this process can compromise finish durability and cause smudges or uneven color. Give it ample time to cure fully so your project maintains its quality and looks professional.

Old Masters 80308 Oil Based Gel Stain, 1 Pint, Cherry, 16 Fl Oz
This item is a Old Masters 80308 Gel Stain Pint, Cherry
As an affiliate, we earn on qualifying purchases.
As an affiliate, we earn on qualifying purchases.
Conclusion
Now that you know how to match old wood stains perfectly, imagine the possibilities that await. Will you restore that neglected piece and bring it back to life? Or will you create something entirely new, with a seamless blend that’s almost magic? The choice is yours, and the potential is endless. But remember—once you master this skill, you’ll never see old wood the same way again. Are you ready to reveal its hidden beauty?

Furniture Clinic Wood Stain | Dark Oak | Water Based | Fast Drying, Low Odor, & Non-Toxic | for Indoor & Outdoor Furniture and More | Multiple Finishes | (8.5oz / 250ml)
EFFECTIVE ON ALL WOOD SURFACES and QUICK DRYING: Furniture Clinic Wood Stain is a fast drying and highly…
As an affiliate, we earn on qualifying purchases.
As an affiliate, we earn on qualifying purchases.
Minwax 63487000 Wood Finish Stain Marker for Touch Ups, Dark Walnut, .33 fl oz
EASY TOUCH-UP – This Minwax Wood Stain Marker is great for quick and easy touch-ups of common nicks…
As an affiliate, we earn on qualifying purchases.
As an affiliate, we earn on qualifying purchases.