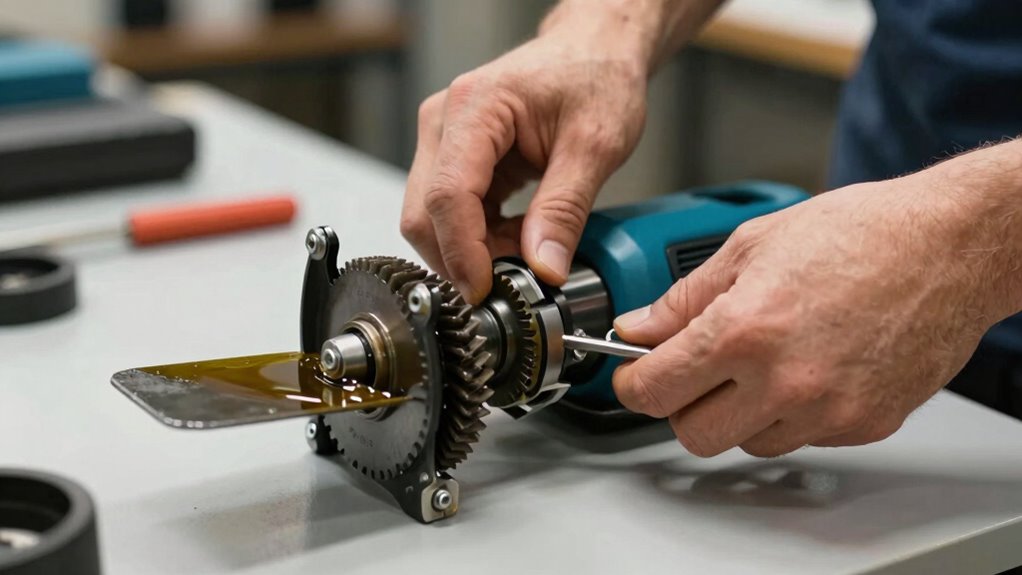

To make your electric tiller last longer, follow the manufacturer’s maintenance tips by regularly cleaning it, inspecting the battery, and keeping the terminals dry. Store it in a cool, dry place and remove the battery during long breaks. Check for damage on power cords, keep moving parts lubricated, and prevent moisture buildup. Regular checks help catch issues early and extend its lifespan. Keep going for more tips to maintain peak performance and durability.

Get furniture and decor delivered free with Prime
- Fast, free delivery on millions of items
- Prime Video, Amazon Music and more included
- Member-only deals all year
Key Takeaways
- Follow manufacturer’s charging and discharging guidelines to prevent battery degradation.
- Regularly clean and inspect the battery, terminals, and mechanical parts for corrosion or wear.
- Store the tiller and battery in a cool, dry environment away from extreme temperatures.
- Lubricate moving parts and ensure airflow pathways remain clean to prevent overheating.
- Conduct routine checks for damage, proper charger settings, and battery health indicators.
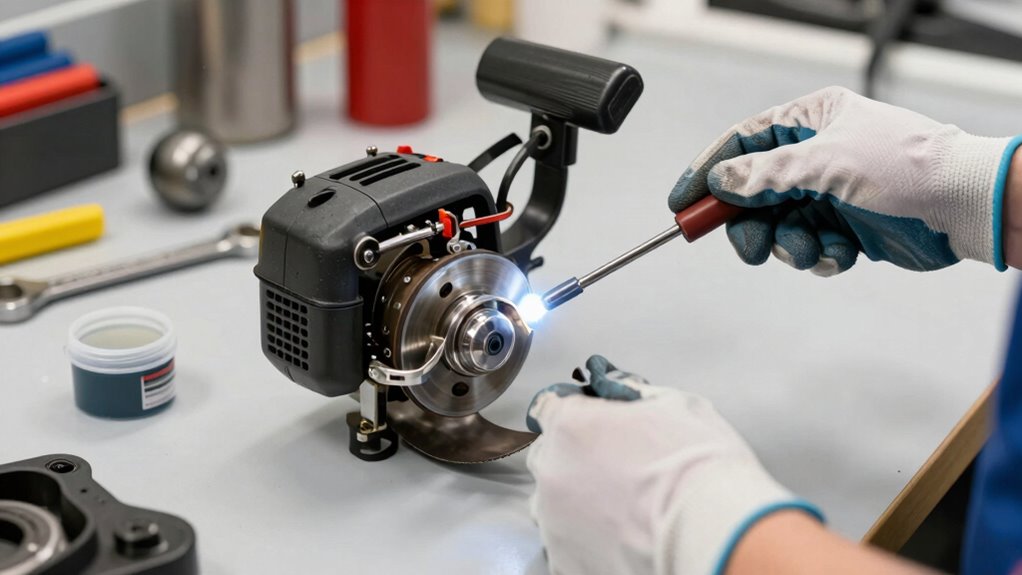
Maintaining your electric tiller regularly guarantees it performs efficiently and lasts longer. One of the key aspects to focus on is the battery life, which directly impacts how well your tiller operates. To maximize battery longevity, always follow the manufacturer’s recommendations for charging and discharging. Avoid letting the battery completely drain before recharging, as deep discharges can shorten its lifespan. Instead, aim to recharge the battery when it’s about 20-30% full. Keep the battery clean and dry, wiping away dirt or moisture that could cause corrosion or poor contact. Regularly check the battery terminals for any signs of corrosion, and gently clean them with a soft cloth or a mixture of baking soda and water if needed. Proper storage tips also play a vital role in maintaining your tiller. When you’re not using it for an extended period, store the battery in a cool, dry place away from direct sunlight and extreme temperatures. Avoid leaving the battery in a hot garage or basement, as heat can degrade its cells. If your tiller has a removable battery, take it out and store it separately, ensuring it’s not in a state of full charge or completely drained. This helps preserve its capacity and overall lifespan. Additionally, keep your tiller’s entire unit clean, particularly the power switch, vents, and motor housing, to prevent dust and debris from interfering with operation. Regularly inspect the power cord (if applicable) for any signs of damage, and replace it if necessary to avoid electrical issues. Maintaining the mechanical components is just as important — check the tines and other moving parts for wear or damage, and clean or replace as needed. Lubricating moving parts with manufacturer-approved oil can also prevent rust and promote smooth operation. Staying on top of these routine maintenance tasks ensures your tiller remains in excellent shape and ready whenever you need it. It’s also wise to refer to the user manual for specific storage tips and maintenance instructions tailored to your model. By doing so, you’ll avoid common pitfalls like leaving the battery on the charger for too long or storing the tiller in damp or overly hot environments. Regular maintenance also includes understanding the battery capacity and how to optimize it for longer life. Proper storage, cleaning, and inspection routines contribute to maintaining optimal performance and prevent unnecessary wear and tear. Additionally, understanding the charger settings and ensuring they match the battery specifications can help prevent overcharging or undercharging, which can harm the battery. Regularly inspecting your electric tiller’s airflow pathways can help prevent overheating and ensure efficient operation. Moreover, paying attention to battery health indicators or alerts can alert you to potential issues before they become costly repairs. Consistent care not only prolongs the life of your electric tiller but also keeps it running at peak performance, saving you time and money in the long run. Remember, a little effort now can prevent costly repairs later, and proper storage and battery care are fundamental to getting the most out of your investment.
As an affiliate, we earn on qualifying purchases.
Frequently Asked Questions
How Often Should I Replace the Electric Tiller’s Brushes?
You should replace the electric tiller’s brushes every 40 to 50 hours of use or when they’re worn down to about 1/4 inch. Regular brush replacement prevents motor damage and guarantees peak performance. During maintenance, check for brush wear and perform motor lubrication if your model requires it. Keeping the brushes in good condition will extend your tiller’s lifespan and maintain its efficiency over time.
Can I Use Regular Oil on the Electric Motor?
You shouldn’t use regular oil on your electric motor because oil compatibility is essential for motor lubrication. Electric motors are designed to work with specific lubricants, often requiring no oil at all or specialized lubricants. Using the wrong oil can cause damage or reduce efficiency. Always check your tiller’s manual to see what kind of lubrication is recommended, and stick to those specifications to keep your motor running smoothly and last longer.
What’s the Best Way to Store My Electric Tiller During Winter?
Did you know proper winter storage can extend your electric tiller’s lifespan by up to 50%? To store it during winter, clean and dry the tiller thoroughly, then disconnect the battery if removable. Store it in a cool, dry place and use a protective cover to shield it from dust and moisture. This routine prevents rust and damage, ensuring your tiller stays in top shape for spring planting.
Are There Specific Cleaning Products Recommended for the Tiller?
For cleaning your electric tiller, use gentle cleaning supplies like a damp cloth and mild soap. Avoid harsh chemicals that could damage parts. Incorporate regular cleaning into your maintenance schedule, especially after heavy use or exposure to dirt. This routine helps prevent buildup and guarantees smooth operation. Always disconnect the tiller before cleaning, and dry it thoroughly to avoid rust or electrical issues, prolonging its lifespan effectively.
How Do I Troubleshoot if the Tiller Won’T Start?
Troubleshooting your electric tiller is like solving a puzzle. First, check the power source—ensure it’s plugged in and the outlet works. If it still won’t start, inspect safety precautions—make sure safety switches are engaged. Consider fuel alternatives if your model has a motor that uses fuel, and verify the circuit breaker isn’t tripped. Regularly cleaning and maintaining your tiller helps prevent issues, keeping it ready when you need it.
Conclusion
So, after all that upkeep, you’d think your electric tiller would last forever, right? Ironically, neglecting these simple routines might just be what causes its early retirement. But follow the maintenance steps, and it’ll serve you well for years. Turns out, loving your tiller isn’t just about planting seasons—it’s about giving it the attention it secretly craves. Who knew that a little care could keep your garden gadget going strong longer than you’d expect?
Halloween Picks
halloween
As an affiliate, we earn on qualifying purchases.