- Energy efficient options for flush mount light bulbs.
- Pros and cons of different light bulb types for farmhouse style lighting
How to Make a Flush Mount Farmhouse Bathroom Light
Excited to transform your bathroom with a stunning farmhouse flush mount light? Look no further! Explore our expert tips on creating a standout light fixture that will enhance your bathroom’s beauty and appeal significantly.
From gathering materials to finishing touches, we’ll walk you through each step with detailed instructions and creative design ideas.
Get ready to illuminate your bathroom in style!
Key Takeaways
- Choose a farmhouse style design that complements your bathroom decor
- Follow safety guidelines and ensure proper grounding during wiring and installation
- Use a base that matches the farmhouse style and gather appropriate mounting hardware
- Connect the wires to the bulb socket using the color-coded system and secure all connections tightly
Gather Materials and Tools
We’ll need to gather all of the materials and tools necessary for making the flush mount farmhouse bathroom light.
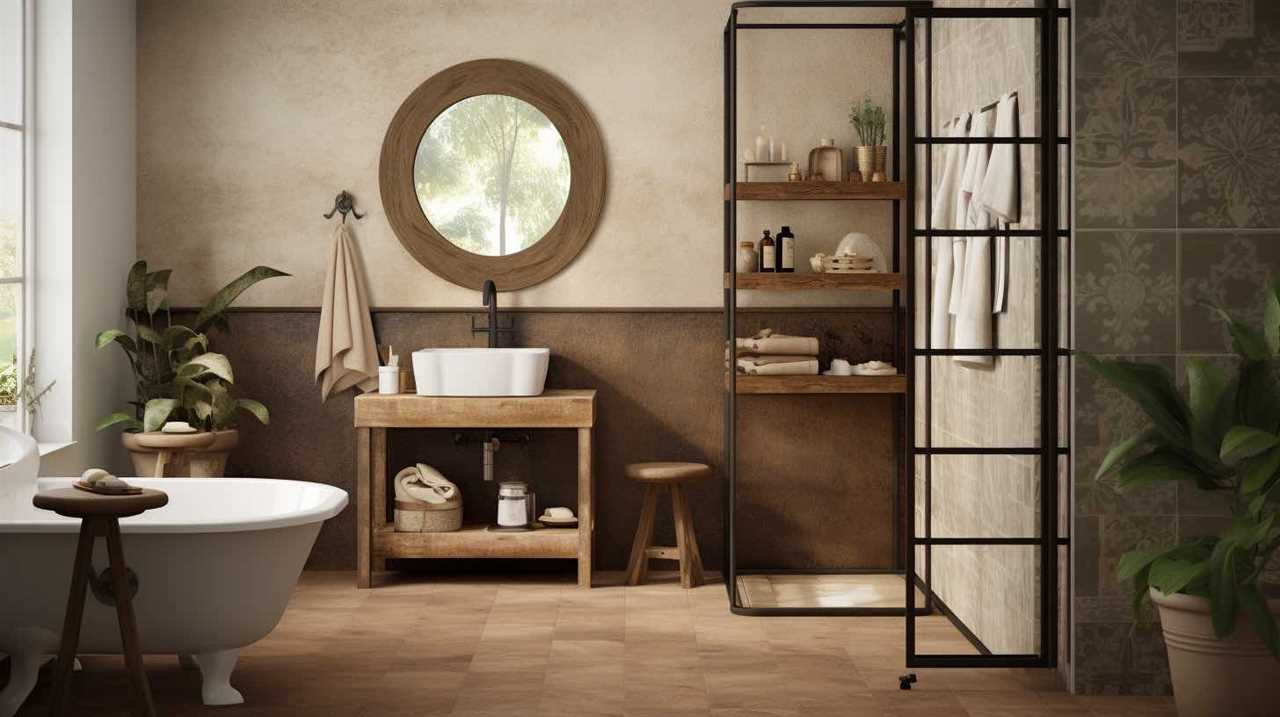
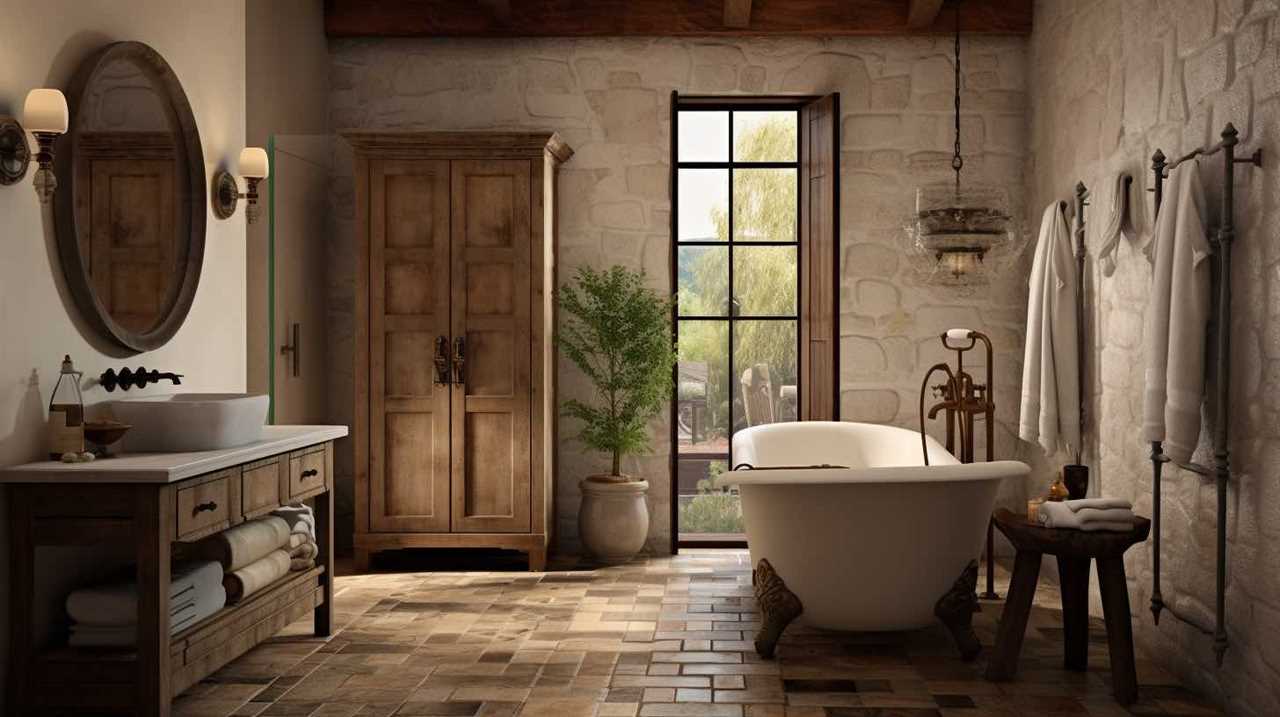
When choosing the right farmhouse style design, consider the overall aesthetic of your bathroom. Opt for a design that complements the existing decor and adds a touch of rustic charm.
For the base of the light fixture, you’ll need a wooden plank and a circular light socket.
As for the wiring and installation, it’s crucial to follow safety guidelines and ensure proper grounding. Start by attaching the wires to the socket, keeping in mind the color-coded system. Make sure to secure the wires with electrical tape or wire nuts.
Prepare the Light Fixture Base
First, we’ll gather the necessary materials and tools to prepare the light fixture base. Here’s what you’ll need:
- Light fixture base: Choose a base that matches the farmhouse style, such as a metal or wooden base with rustic detailing.
- Mounting hardware: Ensure you have the appropriate screws, anchors, and brackets to securely attach the base to the wall.
- Screwdriver or drill: Use a screwdriver or drill to fasten the base to the wall.
- Level: To ensure the base is properly aligned, use a level to check for any unevenness.
To attach the light fixture base to the wall, follow these steps:
- Determine the desired height and location for the base on the wall.
- Use a pencil to mark the positions for the screws or brackets.
- Drill pilot holes into the wall at the marked positions.
- Align the base with the pilot holes and secure it to the wall using the screws or brackets.
When choosing the right light bulb for your bathroom light, consider the following tips:
- Opt for LED bulbs for energy efficiency and longer lifespan.
- Choose a bulb with the appropriate brightness level for your bathroom.
- Select a bulb with a color temperature that complements the overall ambiance of the space.
- Consider using frosted or dimmable bulbs to create a softer, more relaxing atmosphere.
Install the Wiring and Bulb Socket
To start the installation process, we need to gather all the necessary materials and tools for wiring and installing the bulb socket.
Begin by preparing the wires for connection. Strip the ends of the wires, typically about half an inch, to expose the copper. Twist the exposed copper strands together to ensure a secure connection.

Next, attach the wires to the bulb socket. Identify the neutral wire, usually white, and connect it to the silver screw on the socket. The hot wire, typically black, should be attached to the brass screw. Finally, secure the ground wire, usually green or bare copper, to the green screw on the socket. Make sure all the connections are tight and secure.
Wiring techniques are crucial for a safe and functional light fixture.
Once the wiring is complete, it’s time to move on to creating the farmhouse style mounting plate.
Create the Farmhouse Style Mounting Plate
Our next step is to gather the necessary materials and tools to create the farmhouse style mounting plate. Here’s what you’ll need:
Mounting plate: Choose a wooden or metal plate that matches the desired farmhouse aesthetic. Make sure it’s sturdy enough to support the weight of the light fixture.
Paint: Select paint colors that complement the bathroom’s color scheme. Consider using neutral tones like white, beige, or gray for a classic farmhouse look. Alternatively, you can experiment with bolder shades to add a pop of color.
Sandpaper: Use sandpaper to distress the mounting plate and give it a weathered, rustic appearance. You can sand down the edges and corners, or create intentional scratches and dents for a more aged look.
Stain or wax: Apply a stain or wax to enhance the natural grain of the wood or add a protective layer to the metal plate. Choose a finish that matches the desired farmhouse style, such as a dark walnut stain or a matte black wax.
Attach the Mounting Plate and Finish the Light Fixture
Now let’s attach the mounting plate and finish the light fixture. After creating the farmhouse style mounting plate, it’s time to secure it to the ceiling. Start by inserting screws through the pre-drilled holes on the mounting plate and into the ceiling joists. Make sure the plate is level and securely attached before moving on.
Once the mounting plate is in place, it’s time to finish the light fixture. Apply a coat of paint to the entire fixture using painting techniques suitable for a farmhouse style. Consider using distressed or weathered finishes to enhance the rustic charm. You can also experiment with different colors to match your bathroom decor.
Now let’s focus on choosing the right bulbs for your farmhouse bathroom light. Opt for LED bulbs with a warm color temperature to create a cozy and inviting atmosphere. Consider using dimmable bulbs to adjust the lighting according to your needs. Additionally, choose bulbs with a high CRI (Color Rendering Index) to ensure accurate color representation in your bathroom.
Frequently Asked Questions
How Long Does It Typically Take to Complete This DIY Project?
To speed up the DIY process, we recommend gathering all necessary materials beforehand and organizing your workspace. Common mistakes to avoid include not measuring accurately and not securing the light fixture properly.
Can This Flush Mount Farmhouse Bathroom Light Be Installed in Other Rooms Besides the Bathroom?
Yes, this flush mount farmhouse bathroom light can be installed in other rooms. It adds a rustic touch to any space. Consider incorporating farmhouse lighting ideas throughout your home for a cohesive and stylish look.
What Type of Light Bulb Is Recommended for This Fixture?
For energy efficiency, we recommend using LED light bulbs for your flush mount farmhouse bathroom light. They have a longer lifespan and use less energy compared to traditional incandescent bulbs.
Are There Any Safety Precautions That Should Be Taken When Installing the Wiring?
When installing the wiring for a flush mount farmhouse bathroom light, it is important to take safety precautions. Ensure that the power is turned off, use proper tools and equipment, and follow electrical code regulations to avoid any accidents or hazards.
Can I Customize the Finish of the Mounting Plate to Match My Bathroom Decor?
Yes, you can customize the finish of the mounting plate to match your bathroom decor. There are various options available, such as painting, staining, or even using decorative wallpapers for a unique touch.
Can I Use a Flush Mount Farmhouse Bathroom Light to Achieve a Farmhouse Style in My Bathroom?
Using a flush mount farmhouse bathroom light can indeed help you achieve a charming farmhouse style in your bathroom. By incorporating this rustic lighting option, you can effortlessly create a cozy and nostalgic atmosphere. So if you’re looking to enhance the aesthetic appeal of your bathroom while exploring changing bathroom lighting options, consider opting for a flush mount farmhouse bathroom light.
Conclusion
In conclusion, by following these detailed instructions and using your creativity, you can make a beautiful and unique flush mount farmhouse bathroom light.
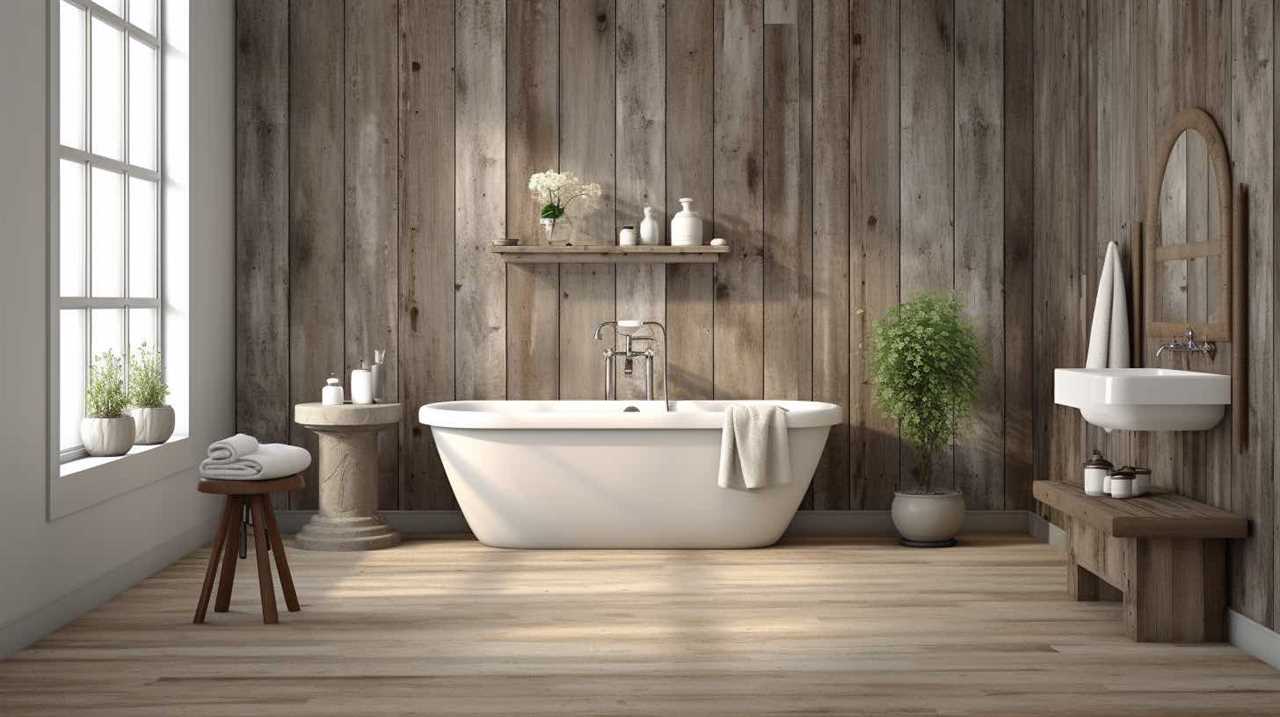
Enhance the aesthetics of your bathroom and create a warm and inviting atmosphere by incorporating this stylish light fixture into your design.
With the right materials and tools, you can bring your vision to life and enjoy the beauty and functionality of your DIY project.


