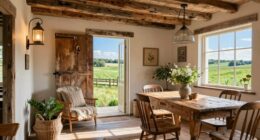
A DIY farmhouse headboard is like crafting a piece of rustic charm that can transform your bedroom’s atmosphere. With a bit of planning, patience, and the right materials, you can create a beautiful, personalized focal point. From selecting reclaimed wood to finishing with a vintage touch, every step builds toward a unique piece you’ll be proud of. Curious about how to start this project and bring your farmhouse vision to life? Keep going to find out.
Key Takeaways
- Gather rustic materials like reclaimed wood or pine, and plan your design based on farmhouse style trends.
- Cut and sand wooden pieces carefully, ensuring accurate measurements and smooth edges for a polished look.
- Assemble the headboard frame securely with screws or nails, using clamps and a level for proper alignment.
- Finish with paint or stain, adding distressing techniques for a vintage farmhouse appearance.
- Mount the completed headboard safely to your wall using appropriate hardware, ensuring stability and proper leveling.

Prepac Stylish Flat Wood Panel Headboard for Queen Size Beds, Simplistic Wooden Queen Headboard 2.25" D x 64.5" W x 48" H, Drifted Gray, DHFQ-1301-1
Suitable for Queen sized beds
As an affiliate, we earn on qualifying purchases.
As an affiliate, we earn on qualifying purchases.
Planning and Gathering Materials
Before you begin building your farmhouse headboard, it’s important to plan and gather all the necessary materials. Start by identifying your design inspiration—whether you prefer a rustic, vintage, or modern farmhouse look—this will influence your material choices. Consider your budget to determine what materials fit comfortably within your financial limits. You might opt for reclaimed wood for an authentic feel or affordable pine for a budget-friendly option. Make a list of supplies, including wood, nails, screws, a drill, sandpaper, and paint or stain if desired. Planning ahead guarantees you won’t forget essentials and helps you stay on track. Gathering everything before you start saves time and keeps your project organized, making the entire DIY process smoother and more enjoyable. Additionally, understanding festive decor trends can inspire unique finishing touches that enhance your headboard’s charm.

Antrader Bed Frame Bolts and Nuts Kit,Screws Bolts and Nuts Assortment Kit Universal Headboard or Footboard Hardware Bed Frame Hardware
You will get 8pcs bolts, 8pcs lock nuts, 8 spring washers, 8 washers, 1pc Allen key, 1pc- open…
As an affiliate, we earn on qualifying purchases.
As an affiliate, we earn on qualifying purchases.
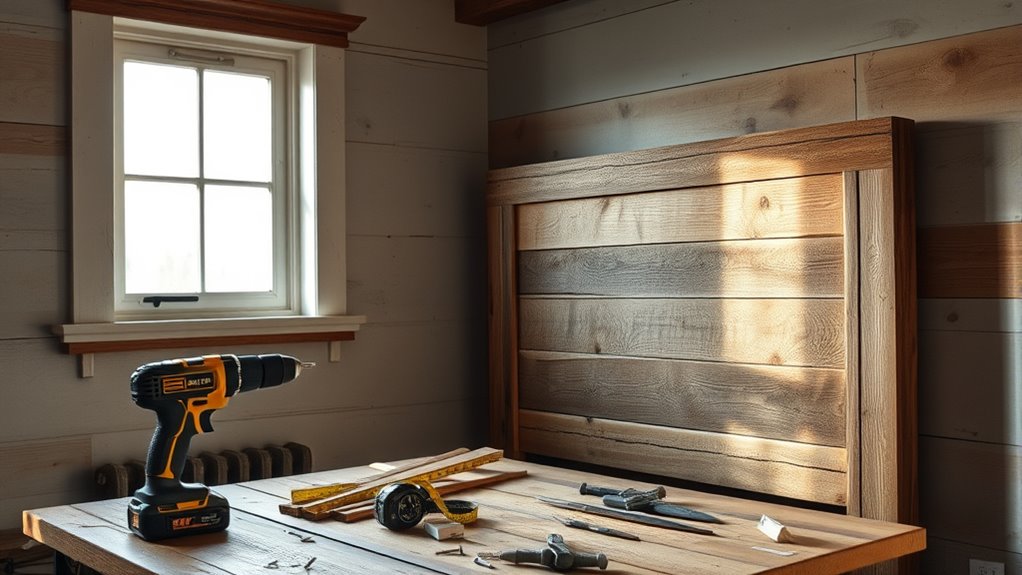
Cutting and Preparing Wooden Pieces
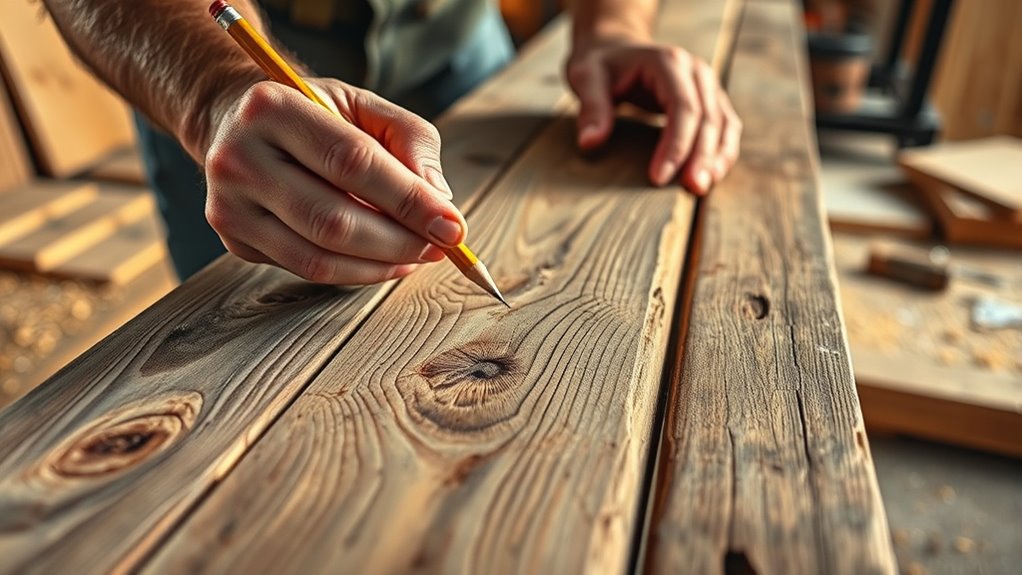
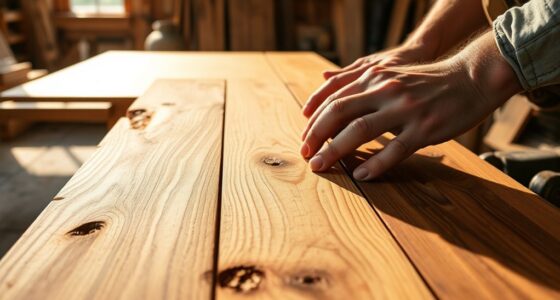
Once you’ve gathered all your materials, it’s time to cut and prepare your wooden pieces. Focus on choosing the right wood selection for durability and style. To verify your pieces fit perfectly, double-check measurement accuracy before making cuts.
Use a reliable saw and measure twice to avoid mistakes. Keep these tips in mind:
- Select straight, defect-free wood for a smooth finish
- Use a tape measure for precise measurements
- Mark your cuts clearly with a pencil
- Secure wood firmly before cutting
- Sand edges after cutting for a polished look
Taking these steps guarantees your pieces will align correctly, making assembly easier later. Proper preparation now saves time and prevents errors, setting a solid foundation for your farmhouse headboard project. Additionally, understanding symptoms of breast cancer can be crucial for early detection and health awareness.

Yakamoz Self Centering Doweling Jig, Self Center Dowel Jig Handheld Drill Guide for Straight Holes Wood Panel Hole Puncher Locator Woodworking Joints Tool – 6mm 8mm 10mm
Self Centering Doweling Jig Type: Straight Hole, Maximum Support Plate Thickness: 1-3/4 Inch (45mm), Drill Guide Diameter: 6mm,…
As an affiliate, we earn on qualifying purchases.
As an affiliate, we earn on qualifying purchases.
Assembling the Headboard Frame
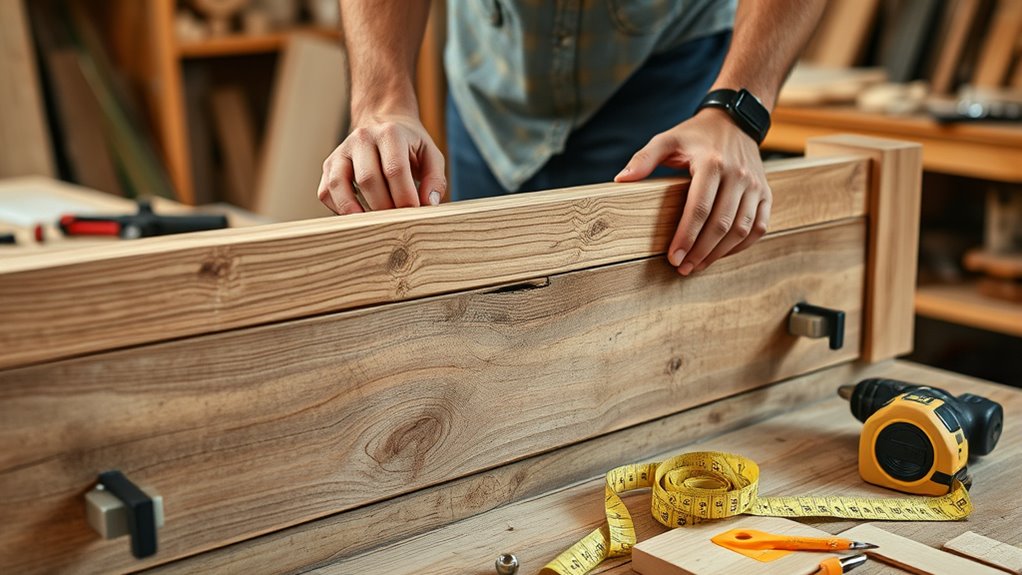
Assembling the headboard frame comes down to fitting and securing your cut wooden pieces together accurately. Begin by laying out your pieces to match your chosen headboard style, whether it’s a simple slat design or something more decorative. Use clamps and a level to ensure everything lines up perfectly. Secure each joint with wood screws or nails, making sure to drill pilot holes first to prevent splitting. Adding decorative accents, like trim or molding, can enhance your design, so consider attaching these once the main frame is secure. Remember, the style of your headboard influences the assembly process—more elaborate styles may require extra steps for stability and detail. Take your time to ensure each piece fits snugly for a sturdy, attractive finish. Paying attention to woodworking techniques can further improve your assembly process and final result.

Varathane Premium Fast Dry Wood Stain | 1 Hour Dry Time | 1 Coat Color | Interior Wood Stain | Furniture, Cabinets, Doors, Trim | Quart | Vintage Aqua
Ideal for use on all interior wood projects: furniture, cabinets, doors, trim and paneling
As an affiliate, we earn on qualifying purchases.
As an affiliate, we earn on qualifying purchases.
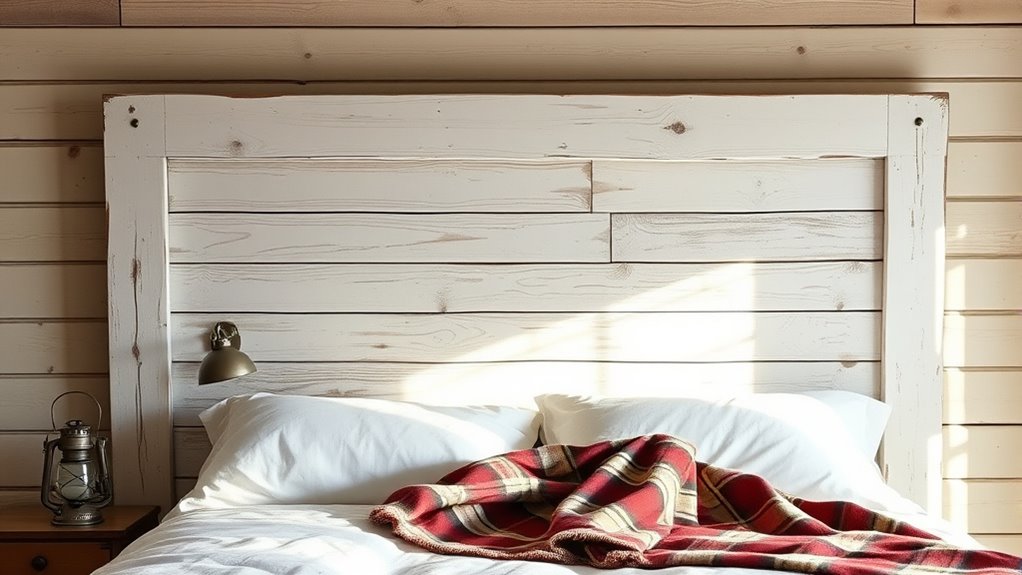
Finishing Touches and Painting
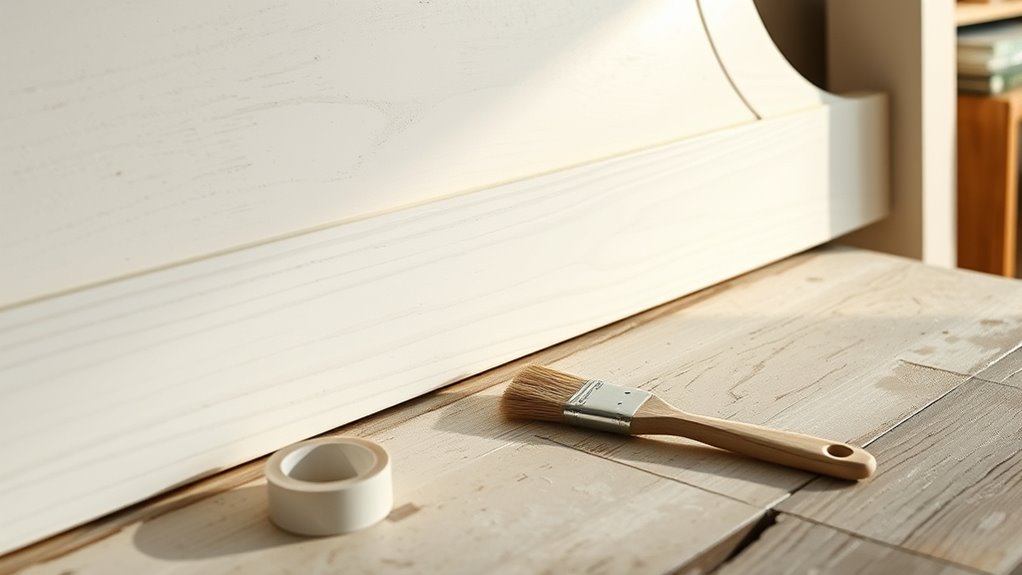
After completing the main frame, it’s time to add the finishing touches and bring your headboard to life with paint or stain.
Choosing the right color scheme can transform your space, so pick hues that complement your bedroom decor.
Use distressing techniques to add character and a vintage farmhouse feel, such as sanding edges or applying a glaze.
Consider these tips:
- Select a neutral or bold paint color
- Apply a stain for a warm, rustic look
- Use sandpaper or a damp cloth for distressing
- Layer multiple colors for depth
- Seal your work with a clear protective finish
Incorporating distressed finishes can further enhance the farmhouse aesthetic, giving your headboard a charming, aged appearance. These steps help create a personalized, charming headboard that enhances your bedroom’s style while showcasing your DIY skills.
Mounting the Headboard in Your Bedroom
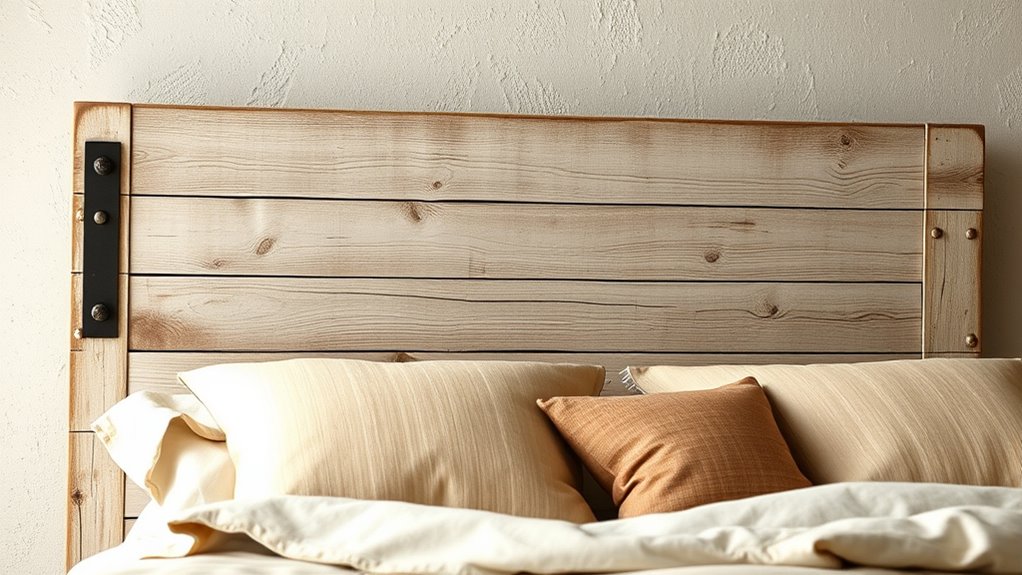
Mounting your headboard securely is essential for safety and style. Proper installation guarantees your headboard complements your bedroom decor and stays firmly in place. To avoid damage, use appropriate hardware based on your headboard style and wall type. Consider the weight of your headboard and choose the right anchors or brackets. Selecting the correct mounting method can significantly impact the longevity and stability of your headboard. Ensure level placement for visual balance. Double-check stability before use, and enjoy your beautifully mounted farmhouse headboard.
Frequently Asked Questions
What Tools Are Essential for Building a Farmhouse Headboard?
To build a farmhouse headboard, you’ll need essential tools like a saw, drill, measuring tape, and screwdriver. These tools help you cut, assemble, and secure your pieces efficiently.
Use supply storage to organize everything and keep your workspace tidy.
Add decorative accents with paint or stain to personalize it. With these tools and tips, you’ll craft a charming farmhouse headboard that’s both functional and stylish.
How Do I Ensure the Headboard Is Level and Securely Mounted?
Think of your headboard as a ship needing a steady anchor. To guarantee it’s level, you’ll want to carefully measure levelness with a spirit level before mounting.
When securing mounting points, use sturdy anchors or screws, and double-check alignment as you go. Tighten everything firmly, then step back and confirm it’s perfectly straight.
That way, your headboard will stand tall and secure, ready to support your sweet dreams.
Can I Customize the Design for Different Bed Sizes?
Yes, you can definitely customize the design for different bed size variations. Measure your bed accurately and adjust the headboard dimensions accordingly, ensuring it fits well and looks proportional.
You can personalize the design with different paint colors, patterns, or embellishments to match your style. Just remember, tailoring your project to your bed size and preferences makes your farmhouse headboard uniquely yours and perfectly suited to your space.
What Types of Paint or Finish Are Best for Durability?
Imagine your headboard standing the test of time, resilient and beautiful. The secret lies in choosing the right paint options and finish durability.
You should opt for high-quality latex or acrylic paints for vibrant, lasting color, and seal it with a clear polyurethane or wax finish. These choices protect against scratches and moisture, ensuring your farmhouse headboard remains stunning for years.
Don’t settle—your headboard deserves the best protection.
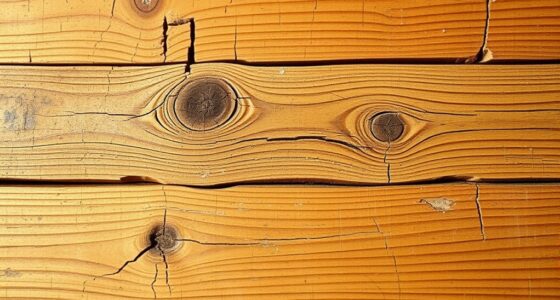
How Can I Prevent Wood Warping or Splitting During the Project?
To prevent wood warping or splitting, you should prioritize proper wood treatment and climate control. Seal your wood with a good wood conditioner or primer to stabilize moisture.
Store your wood in a consistent environment, avoiding high humidity or drastic temperature changes.
Using kiln-dried wood also helps reduce warping.
Conclusion
Now that you’ve crafted your farmhouse headboard, you’ve created more than just a piece of furniture—you’ve built character, charm, and a cozy centerpiece for your bedroom. You’ve measured, cut, assembled, and finished with care, transforming rustic materials into a beautiful statement. With your headboard mounted, you’ve added warmth, personality, and a personal touch to your space. You’ve turned a DIY project into a proud, one-of-a-kind focal point—proof that your creativity truly shines.